Prototyping the First Responder Plaque
We learned a lot from creating the first solo plaque and although we put that knowledge to work when prototyping the first responder plaques, but we still had a few lessons to learn.
We started this prototype design by talking to a Cobb Country police officer and Hall County EMT/Firefighter about what they would want to see on the plaque. We created a rough prototype on a piece of old wood to see how it would come out. We then did a series of refinements, until we reached the point we felt we had a product good enough to sell.
We showed our police office and EMT/Firefighter the results and they liked what they saw so much they became our first customers for the new design.

What should it show?
Based on our conversations with our police officer and firefighter friends, we had a very good idea of what we wanted the plaque to look like and what information it should contain:
- USA flag as the background
- Cobb County police officer badge / Hall County Fire Service
- The rank, name and badge number
- When they started serving the community
Knowing the above, we started with the template to the left.
Starting off
This time, we had some ‘spare’ plywood to test out the design on. As you can see from the image to the right, the overall concept looks good. However, the laser is burning through the first layer of the plywood so parts of the design just fell off.
Overall, we liked the design and decided to stay with it.


Round 2
Pleased with the initial test, we dialed back the power a little, and printed the plaque on a proper pine blank at full size. Unfortunately, while the image looked good in PaintShop, the print resolution of the badge was just not up to the standard we wanted. Click the image to see what we mean.
After a couple of hours of editing, we were ready to try again.
Round 3
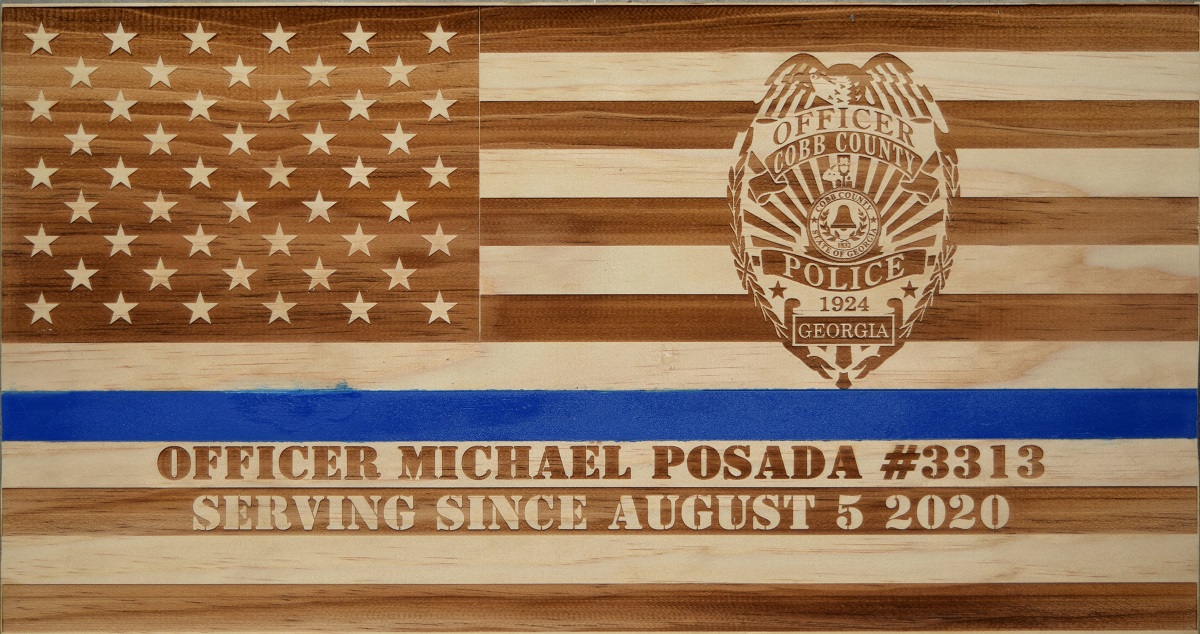
After spending time to edit and enhance the badge, we did a ‘final’ print and it looked great. Unfortunately, the way we created the blue line allowed the paint to run. Because the wood absorbed the paint, it was not possible to remove it, so we had to look for a different way to create the blue line. (Click the image to see what we mean)
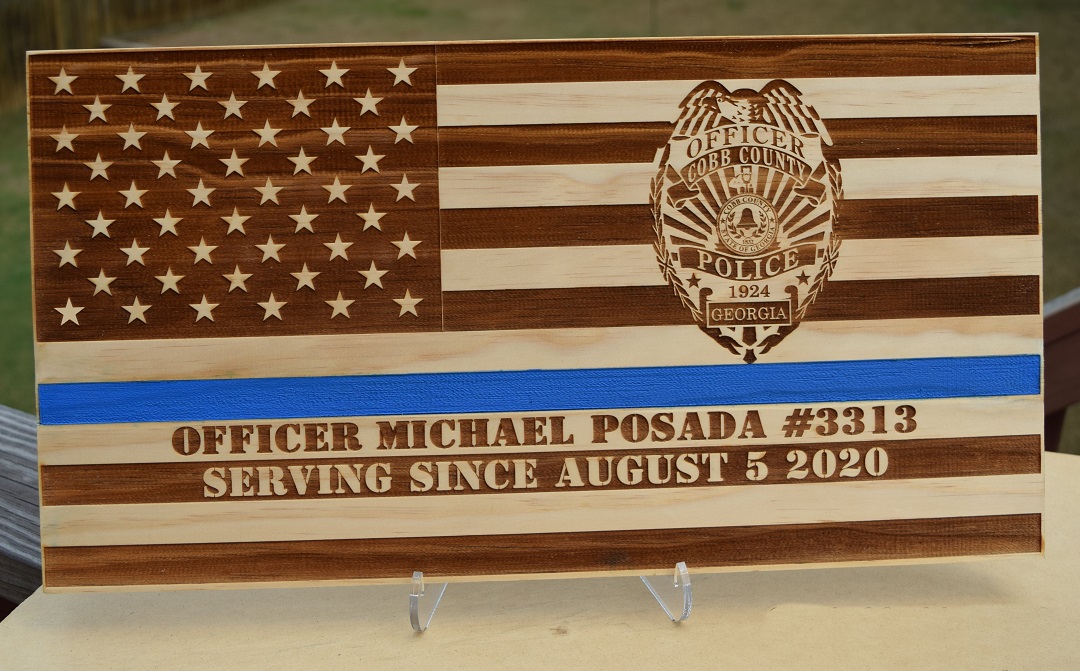
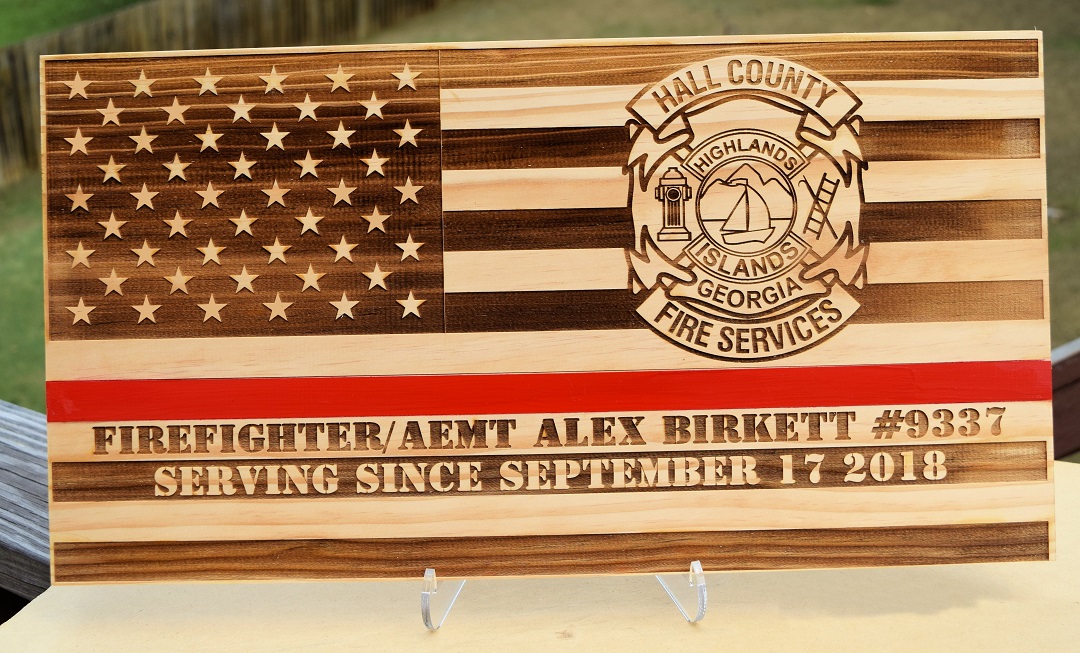
We have two new products
As you can see from the final product images, the only differences between the police officer and firefighter plaques are the badge and the color of the line. This template might even work for someone in the military too.
Even though we learned a lot from creating the first solo plaque, we found there were still lessons to be learned when creating this one. We only left out a few smaller issues so you can see that none of the problems we encountered were major, and the plaque seems to have come out well.
As with the first solo plaque, we applied two coats of ‘Danish Oil’ to bring out the texture of the wood and protect it.
While occasionally frustrating, creating a first responder plaque was a rewarding experience and we hope that, like us, you think it was worth it.